Crafting Guide
How to Put Your AI Avatar on a T-Shirt with Cricut
March 2026 · 8 min read
Imagine wearing a t-shirt with yourself as a Minifigure, anime hero, or Pixar character. With MiniFigureAI and a Cricut machine, you can make it happen in under 30 minutes — from upload to wearable shirt. This guide walks through every step, from generating your avatar to pressing the final design.
What You Need
- Cricut Explore or Maker (any model works)
- Cricut Printable Iron-On — Light for white/light shirts, Dark for dark shirts
- Inkjet printer (HP, Epson, Canon — not laser)
- Cricut EasyPress or a household iron
- Blank t-shirt (100% cotton works best)
- Your MiniFigureAI avatar — free to generate at minifigureai.com
You do not need any graphic design software. Cricut Design Space handles everything.
Step 1 — Generate Your Avatar
Go to minifigureai.com, upload a selfie, and pick a style. The AI generates your personalized avatar in about 60 seconds. No account required for your first free avatar.
Not sure which style to pick? See all 50+ styles or jump to the best options for t-shirts below.
Step 2 — Download Your Avatar
After generation, click the download button to save your avatar as a PNG file. MiniFigureAI images include a transparent background, which Cricut Design Space uses to cut precisely around your avatar — no manual background removal needed.
Step 3 — Import into Cricut Design Space
- Open Cricut Design Space and start a new project.
- Click Upload and select your avatar PNG file.
- Choose Complex image type (recommended for avatars).
- Cricut will detect the transparent background automatically.
- Click Save, then Add to Canvas.
- In the layers panel, set the operation to Print Then Cut.
Step 4 — Size Your Design
Resize your avatar on the canvas before printing. Use these common shirt placements as a guide:
| Placement | Width |
|---|---|
| Full chest (adult shirt) | 9–10 inches |
| Left chest / pocket area | 3–4 inches |
| Back of shirt | 8–10 inches |
| Kids shirt (full chest) | 6–8 inches |
Note: Cricut Print Then Cut has a maximum print size of 6.75 x 9.25 inches. If your design is larger, tile it or use a different approach.
Step 5 — Print
Click Make It in Design Space. When prompted to print, load your Cricut Printable Iron-On into your inkjet printer. Load it with the white/blank side facing down (the side you want to print on faces down in most printer trays — check your printer's manual to confirm).
Print at your printer's highest quality setting for the best color output. Allow 30 seconds for the ink to dry before loading into Cricut.
Step 6 — Cut
Place your printed iron-on face-down on a Cricut StandardGrip mat. Load into the machine. Cricut will scan the black registration marks printed around your design, then cut precisely around your avatar outline. Do not move the mat while it scans.
Step 7 — Weed
Use a weeding tool (or tweezers) to remove the excess iron-on material around your avatar. The avatar itself stays attached to the clear carrier sheet. Work slowly around any fine details — the cut lines will be crisp, but tight areas need care.
Step 8 — Press
Pre-heat your shirt for 5 seconds to remove any moisture. Place your design face-down on the shirt (the carrier sheet faces up toward you). Apply firm, even pressure with your EasyPress or iron:
| Fabric type | Temperature | Time |
|---|---|---|
| Light fabric (white, pastels) | 315°F | 30 seconds |
| Dark fabric (black, navy) | 340°F | 30 seconds |
Always check the temperature guide on your specific Cricut Printable Iron-On package, as settings can vary by product version.
Step 9 — Peel and Enjoy
Let the shirt cool for about 30 seconds. For a warm peel, gently lift one corner of the carrier sheet while the material is still warm. For a cold peel, wait until it is fully cool before removing. Either works — check your iron-on package for the recommended peel type. Your custom avatar t-shirt is ready to wear.
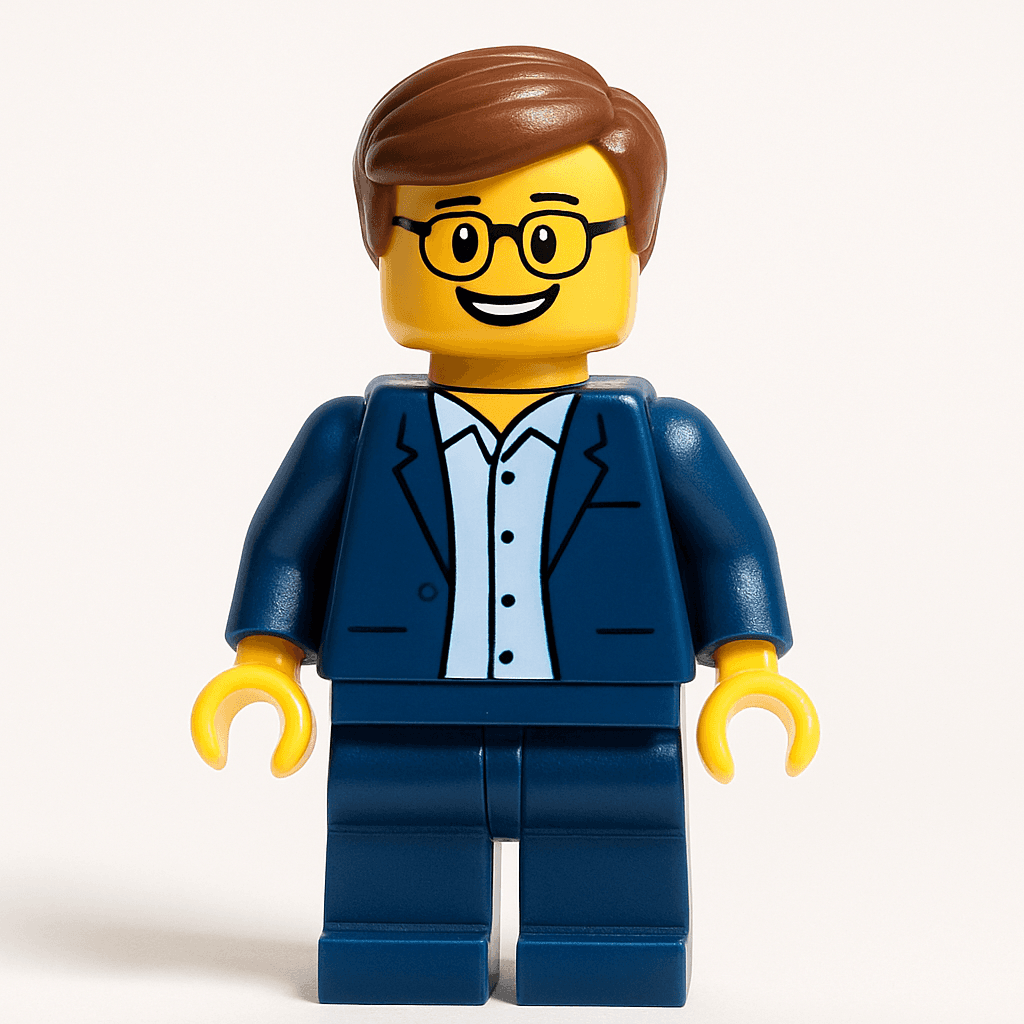
Minifigure style
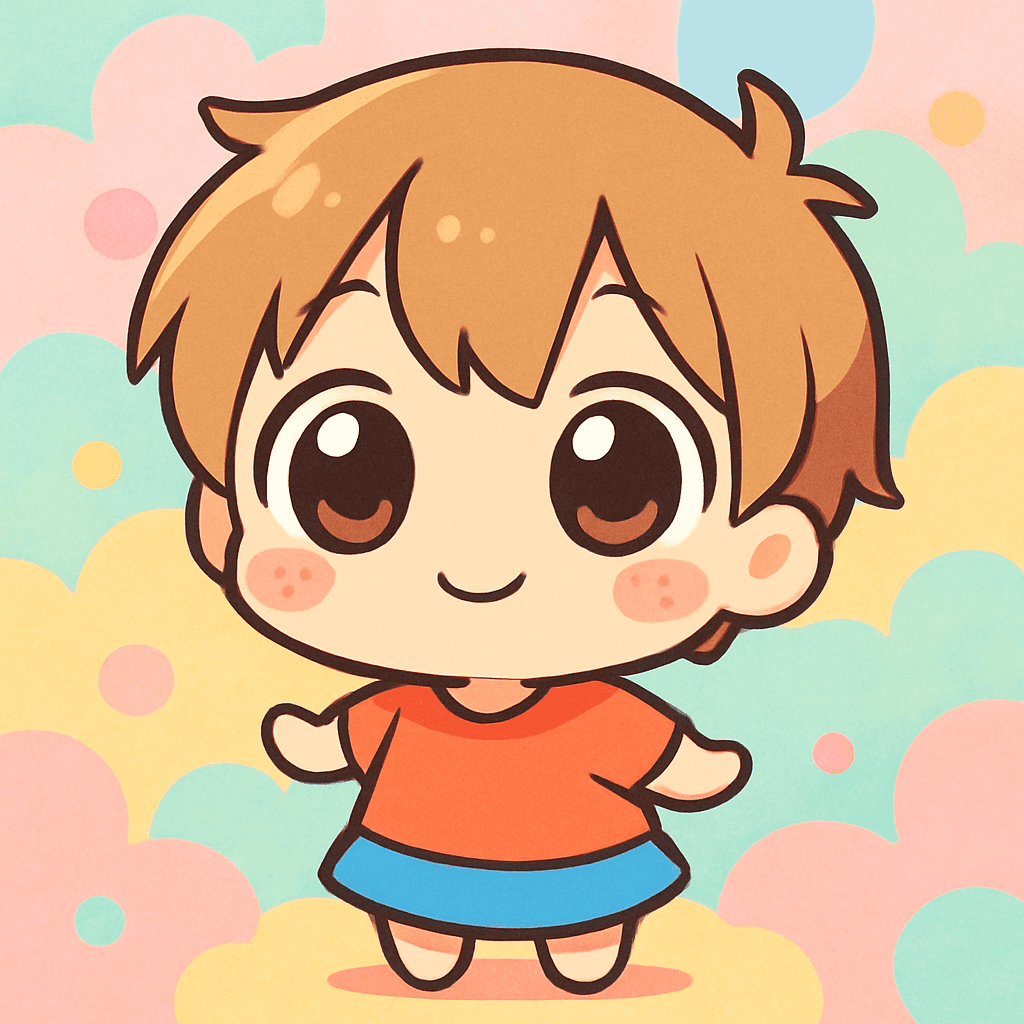
Chibi style
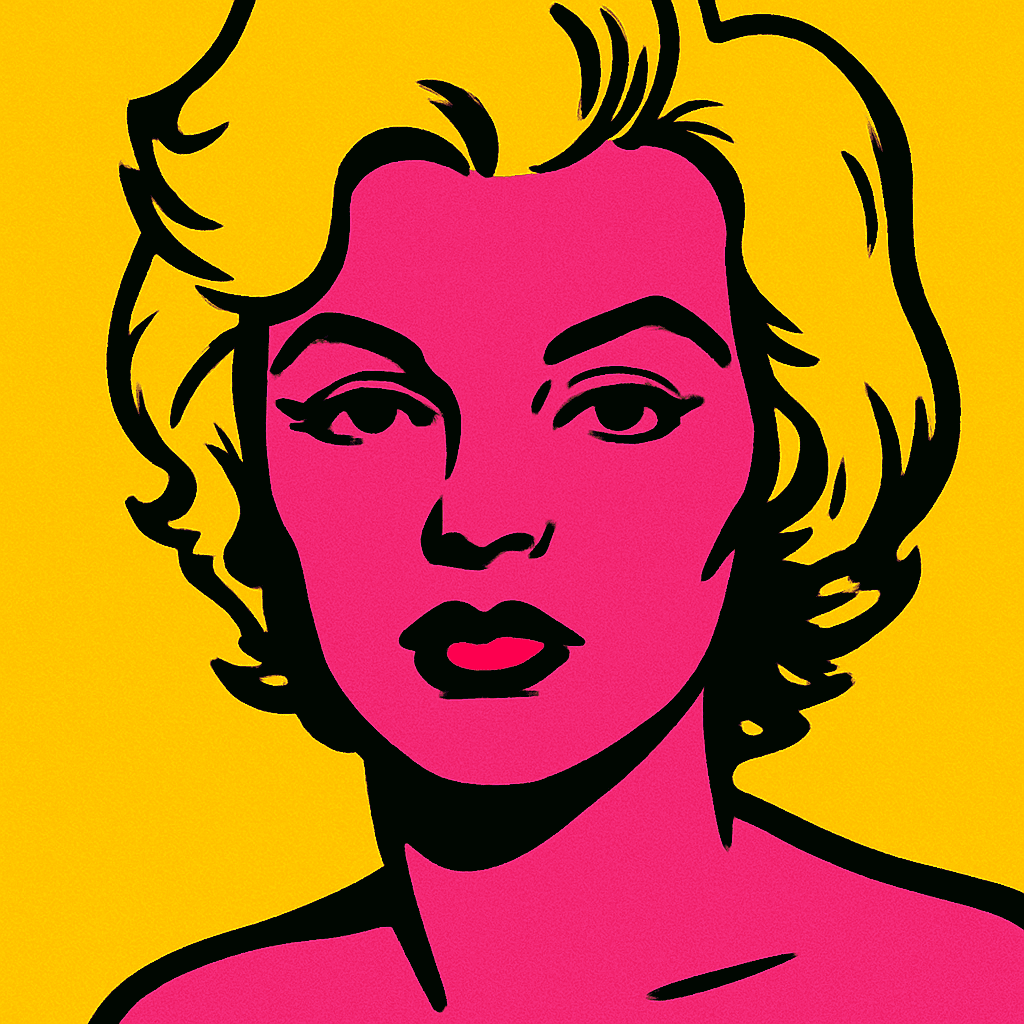
Pop Art style
Pro Tips
- Mirroring is automatic. Cricut Design Space mirrors your image automatically when you select Print Then Cut for iron-on. Do not manually mirror it beforehand.
- Dark shirt? Use dark fabric iron-on. Printable Iron-On for Dark Fabrics has a white base layer that makes colors pop on black or navy shirts. Regular Printable Iron-On looks washed out on dark fabric.
- Press firmly and evenly. Uneven pressure is the most common cause of peeling. If you're using a household iron instead of an EasyPress, move it slowly across the design in sections.
- Let it bond fully before peeling. Peeling too soon — while still very hot — can cause the design to lift. Wait at least 20–30 seconds after removing the heat source.
- Wash inside-out on a gentle cycle. This extends the life of the transfer significantly. Avoid bleach and high dryer heat.
Best Styles for T-Shirts
Not all avatar styles are equal for iron-on t-shirts. These perform best:
- Minifigure — Clean, defined edges. The classic brick-toy look everyone recognizes. Great for all ages.
- Chibi — Cute proportions, simple shapes, cuts cleanly. Popular for kids' shirts and family sets.
- Pop Art — Bold colors and strong contrast. Looks stunning on white tees.
- Marvel — Superhero vibes. Kids absolutely love wearing their superhero self.
Browse all options on the styles page.
Frequently Asked Questions
What type of iron-on should I use for printing an avatar?
Use Cricut Printable Iron-On, not regular HTV (heat transfer vinyl). Printable iron-on is a white printable sheet that you run through an inkjet printer. Regular HTV is a solid-color material and cannot be printed on.
Can I use any printer to make a Cricut iron-on t-shirt?
You must use an inkjet printer — laser printers do not work with Cricut Printable Iron-On. Most home inkjet printers (HP, Epson, Canon) work perfectly. Load the iron-on with the blank/printable side facing down in your printer tray.
How do I care for a Cricut iron-on t-shirt?
Wash inside-out on a gentle cycle with cold water. Do not bleach. Tumble dry on low heat or air dry. Avoid dry cleaning. With proper care, Cricut iron-on transfers typically last 50+ washes.
Generate Your Avatar Free — Then Make It Real
Your first MiniFigureAI avatar is free. Upload a selfie, pick a style, download the PNG, and you're ready for Cricut in under 60 seconds.
Create Your Avatar FreeNo credit card required · First avatar is free
Also see: MiniFigureAI for Crafting · Make custom stickers